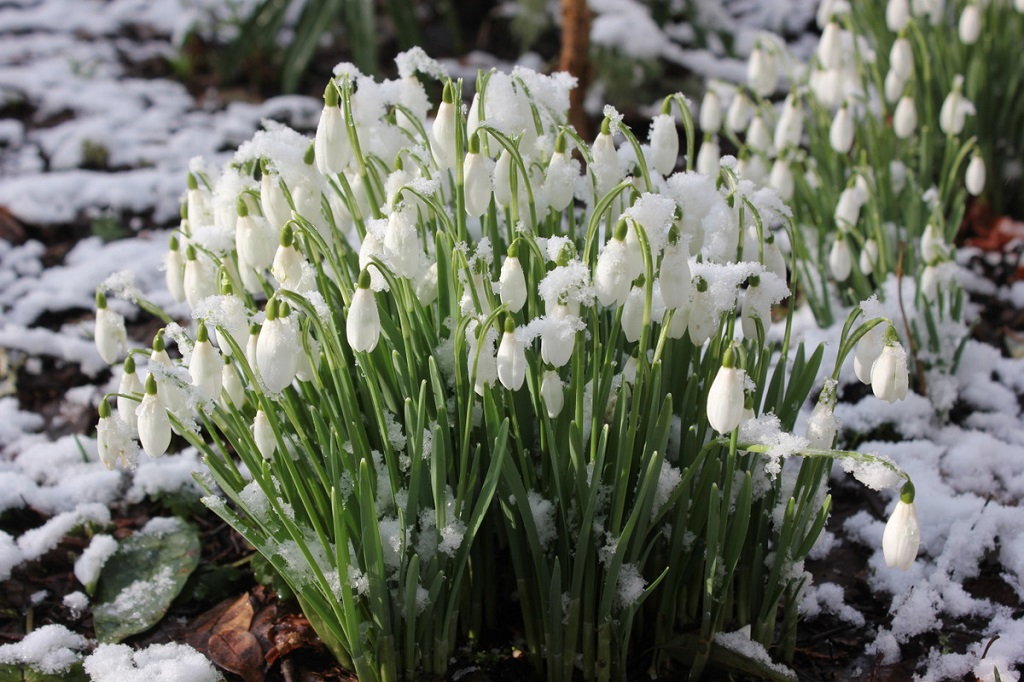
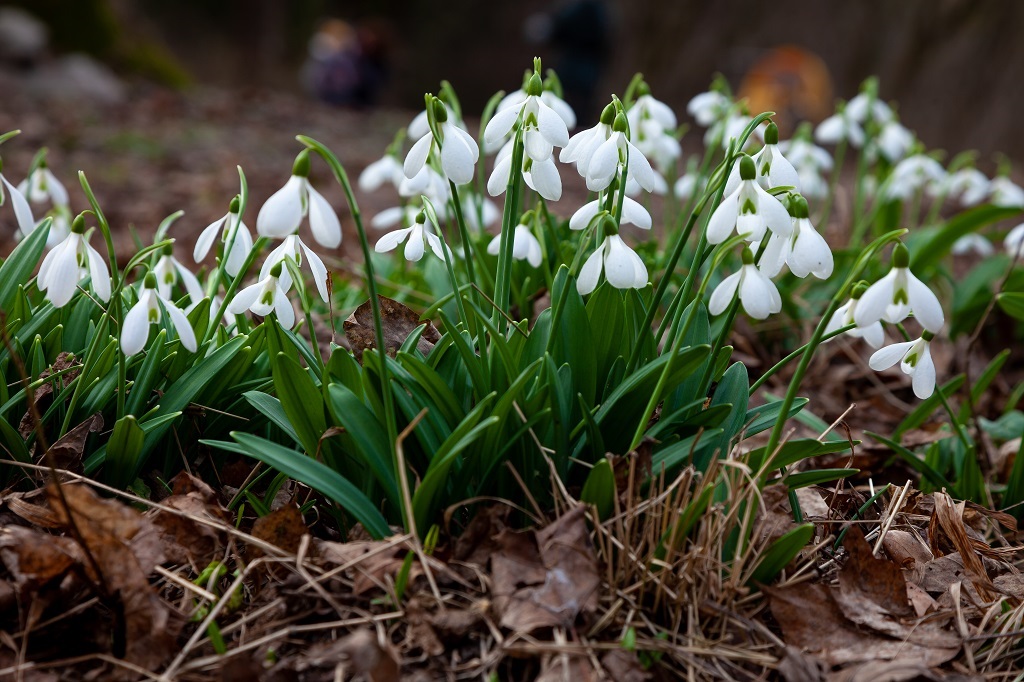
Snowdrops are an attractive, early spring or late winter flower.
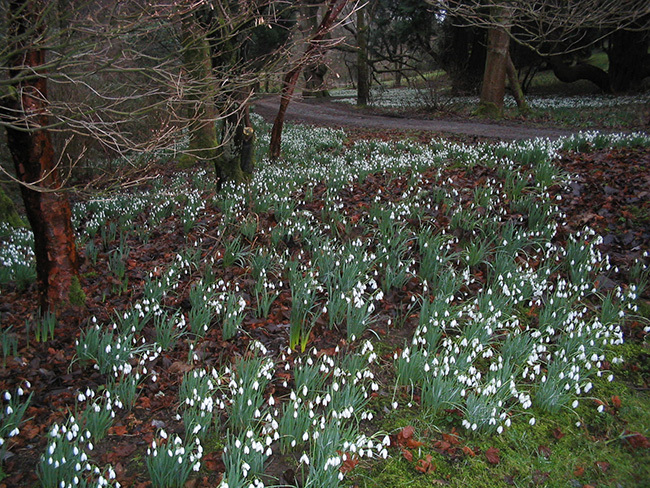
When planted in swathes, either alone or alongside other early season bulbs such as daffodils and crocuses, they bring early season color to winter gardens.
The snowdrop (Galanthus) happily grows in moderate and colder climates. These are hardy low maintenance bulbs.
A perfect shade loving plant, this guide will take you through everything you need to know, from sourcing your bulbs all the way to after flower care. This is your complete guide to planting snowdrops.
Where to source your snowdrops
Always purchase plants and bulbs from a reputable supplier.
Most garden centres and home improvement shops sell galanthus bulbs. However, if you want a more unusual or specialist variety you may need to order your plants from a nursery.
You can buy snowdrops either as bulbs or as young plants. While bulbs are often cheaper they can be more difficult to establish.
Snowdrop bulbs are often sold undried, or in the green. Because they are often sold wet, snowdrop bulbs are often only available for a short period of time, usually in late spring. Plant green bulbs as soon after purchasing as possible. Don’t allow them to dry out.
While some bulbs can be expensive, don’t assume that these are better. Cheaper bulbs are often quicker to multiply and form large clumps.
Young snowdrop plants are often easier and cheaper to source. Plants purchased in the autumn can either be planted in the autumn or kept in their pots overwinter and planted out in the spring. Just be careful to ensure that the soil in the pot doesn’t freeze.

Snowdrops at Cluny House
Different varieties of snowdrops
Despite their distinctive appearance, snowdrops come in a wide range of styles. In addition to tall and short varieties you will also find large, single and double flowering cultivars. Some varieties even have patterned petals.
The foliage of the plants can also vary from green to grey. Some cultivars produce long, thin leaves while others produce thicker, stubby foliage.
Galanthus nivalis is the naturalised snowdrop. It produces slim, tidy flowers above silvery green leaves. A durable cultivar that is quick to establish itself in most soil types, G. nivalis grows in sun or partial shade positions. Flowering from early February onwards, depending on the growing conditions, the plant can reach a height of 6 to 12 inches and a spread of 4 to 6 inches.
G. nivalis Flore Pleno is the double naturalised snowdrop. Like G. nivalis it is quick to establish itself and easy to divide. Blooming earlier than the single flowering variety, this cultivar has a spread of 5 to 9 inches and can reach a height of 10 inches.
S.Arnott is one of the largest commercially available cultivars. Producing pure white flowers that smell of honey, it is a popular cultivar with pollinators. Arnott enjoys a spread of 7 to 12 inches and a similar height.
G. elwesii is native to Greece, Turkey and Yugoslavia. In appearance it is similar to the naturalised G. nivalis cultivar. However G. elwesii flowers earlier in the season, often in January. Achieving a height and spread of 6 to 12 inches, G. elwesii is also quicker to form clumps than other cultivars. This is a great choice if you want to create a carpet of flowers.
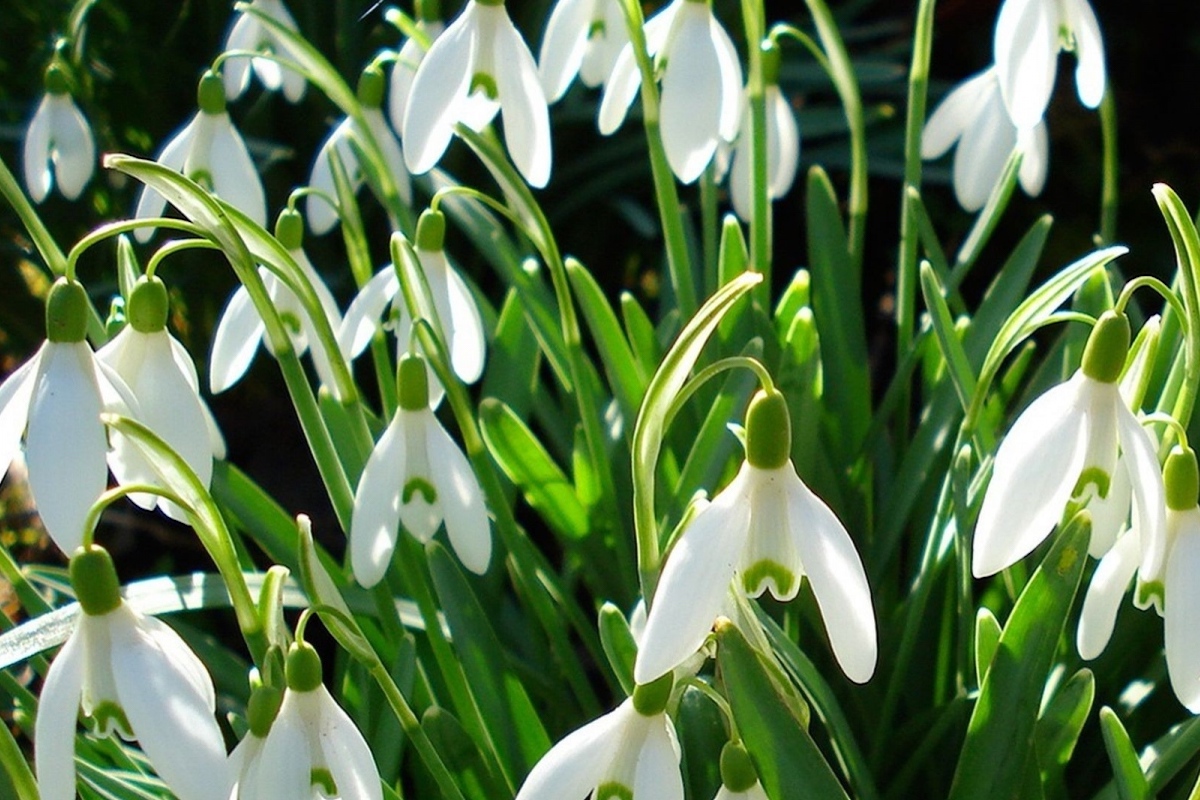
The hybrid cultivar G. Magnet is ideal in zones 3 to 8. Flowering from February to March it is a small variety, reaching a height of no more than 6 inches. Its white inner petal is marked with a light green v.
Atkinsii is a compact cultivar. Ideal for smaller or container gardens it reaches a height and spread of eight to 10 inches. Flowering in February the plant produces white flowers, the petals of which are marked with an inverted heart shape.
Some varieties can be slower to clump up but are more suited to growing in pots. Grumpy is one such variety, producing flowers the inner petals of which have markings that look like a grumpy face. Walrus is another attractive variety. It is so called because its thin outer petals are said to resemble a walrus’s tusks and whiskers.

Where to plant
Plant your bulbs in a moist, well draining position. Under a tree or shrub or along the shady side of your house is ideal. Planting in a shady position helps to keep the dormant bulbs cool during the summer months.
By the end of spring your snowdrop bulbs will become dormant, leaving no visible trace above ground. Try to remember where you have planted the bulbs. You don’t want to accidentally disturb or damage them when digging the flower beds later in the year. This can harm the bulbs and ruin your early spring floral display. Plastic plant labels are a great,and durable, way to mark where bulbs are planted.
Planting a hosta or fern plant next to the snowdrops also helps to prevent accidental disturbance. As the snowdrops fade the large plant grows, covering the bare soil where the snowdrop bulbs sit.
How to plant snowdrops
Before planting work the soil over, removing any weeds or large stones. This is also the ideal time to enrich your soil by working in dried manure or compost. A 5-10-10 granular fertiliser can also be worked into the soil.
Use a good shovel to dig a hole, roughly 10 inches deep, in the soil. It should be large enough to hold the snowdrop bulb. There should be about five inches of soil between the top of the bulb and the soil level. Plant the bulb flat base down. The skinny nose should point up to the sky.
Cover the bulb with soil and firm down. Water well.
If you are planting more than one bulb, space the bulbs about four inches apart. If you want a pleasing display, or are planting for groundcover, you will need to plant a swathe of at least 20 bulbs.
Planting in pots
You can also plant snowdrops in pots but they may not flower as profusely as when planted in the ground or a raised bed.
If you want to plant a mass of bulbs select a large pot. You can also plant individual bulbs in single pots. Plant in a clean pot that has plenty of drainage holes in the bottom.
Fill the pot with well draining potting soil and plant as described above. Remember plants growing in pots may require more frequent watering than those in the ground. Planting in self watering containers helps to create a low maintenance but attractive garden.

Planting young plants
Young plants can also be planted in the ground or in pots. Prepare the soil as described above.
Make a hole in the soil large enough to hold the plant. The plant, when placed in the hole, should sit at the same depth as when it was in the original container.
Once the plant is correctly positioned, backfill the hole and water well.
Caring for Snowdrops
Once established the plants are pleasingly easy to care for.
Regularly weed around the bulbs. Be careful not to disturb the bulbs as you weed. Weeds can grow quickly smothering other plants and starving them of light and moisture.
When to water
Snowdrops rarely require watering. Water only when the soil dries out, for example during prolonged dry spells. If you are growing in pots you may need to water the soil during the summer months.
Fertilizing galanthus bulbs
Fertilize with an evenly balanced plant food as the flowers begin to fade. This helps the bulbs to store enough energy to survive the winter and return again the following year.
Either apply one dose of granular food or regularly water with a liquid plant food. If you are using a liquid fertilizer, continue to apply regularly until the foliage starts to die away.
A dose of potassium rich fertilizer every 10 days from the time foliage appears until it begins to yellow also helps to promote healthy growth.
Finally, apply a layer of organic mulch around the plants in the autumn. This helps to enrich the soil, giving your growing bulbs a further nutritional boost.
A layer of organic mulch applied in the autumn can protect the bulbs from deep frosts. As the mulch breaks down it also enriches the bulbs. Remember to remove the mulch from the soil above the bulbs in early January. This helps the new shoots to emerge.
A horticultural fleece can also be used. The Agribon Floating Frost Blanket protects plants from cold weather but is also permeable, meaning that covered plants can still get plenty of light and moisture.

Snowdrops at Gargunnock House in Stirlingshire
Can I propagate my flowers?
Snowdrops don’t set seed and spread through a garden. Instead they multiply by producing offsets. An offset is a new bulb that is formed on the main or mother bulb.
After a couple of years of steady growth the bulb clump will be quite dense. Separating the clumps gives you a collection of fresh bulbs that can be planted elsewhere in your garden.
Snowdrop bulbs can sometimes rise to the surface. This is a sign of overcrowding and is an indication that it is the perfect time to lift the clumps of bulbs and divide. The bulbs that are closer to the surface are new bulbs. If left undivided they are slowly pushed from the soil and naturally disperse, setting down roots nearby. Lifting and dividing bulbs simply helps this process.
Separating the offsets is easy. Simply allow the flowers to fade. While the leaves are still green and healthy carefully lift the bulbs. Separate the bulbs and replant immediately.
Plants to avoid
Snowdrops do best when they have room to thrive. This means that you should avoid planting close to potentially overbearing plants, such as ivy, that may starve them of light, nutrients or water.
Avoid planting near dense or large evergreens such as conifers. Boxwood or Japanese Holly are less dense and are better options.
Plants that produce thick carpets of roots such as Pulmonarias, epimediums and vigorous geraniums, can also disrupt snowdrops. The fresh roots may struggle to force their way through the thick root system.
Finally, avoid planting your snowdrops near herbaceous perennials that require dividing regularly such as asters, bee balm and daylilies.
This feature originally appeared at Happy DIY Home.
TAGS

